
Adding a menu to your page
Drop your menu into a Qbit page and put a code on the table.
With a menu built, putting it in front of customers takes two minutes: add it to a page, and point a code at the page.
Add the menu block
-
Open the page in the editor (Qbits → your page).
-
On the Content tab, click Add a block and choose Menu from the Menus group.
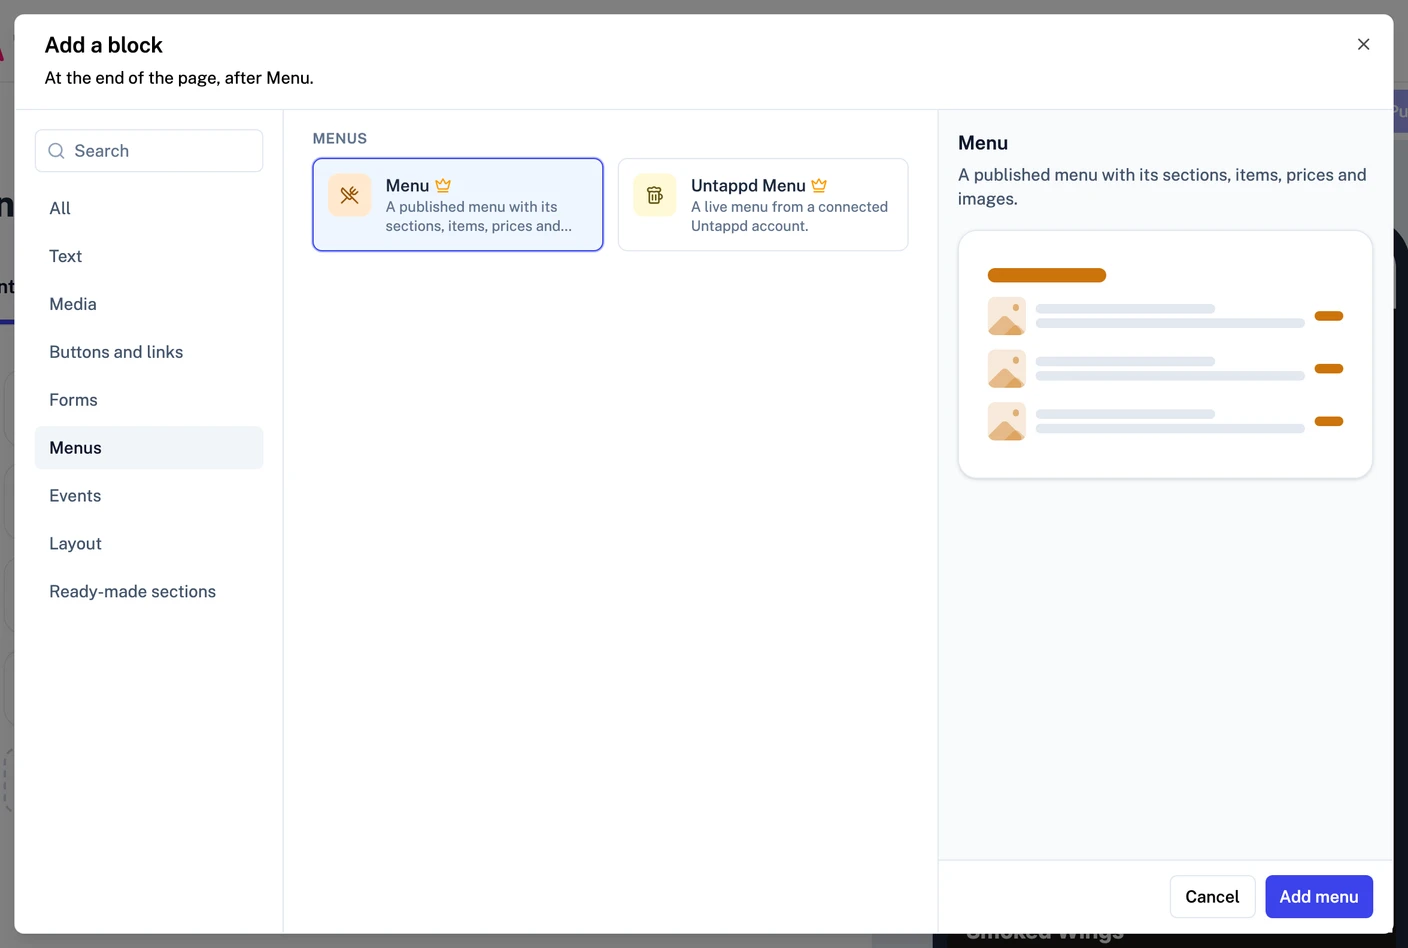
-
In the block's panel, click Connect a menu and pick your menu. The card shows the menu's name and how many sections and items it has.
-
Publish the page.
That's it - the page now renders the menu's published version. The same menu can live on any number of pages. The Open builder icon on the menu card jumps you back to editing it, and Change menu swaps in a different one.
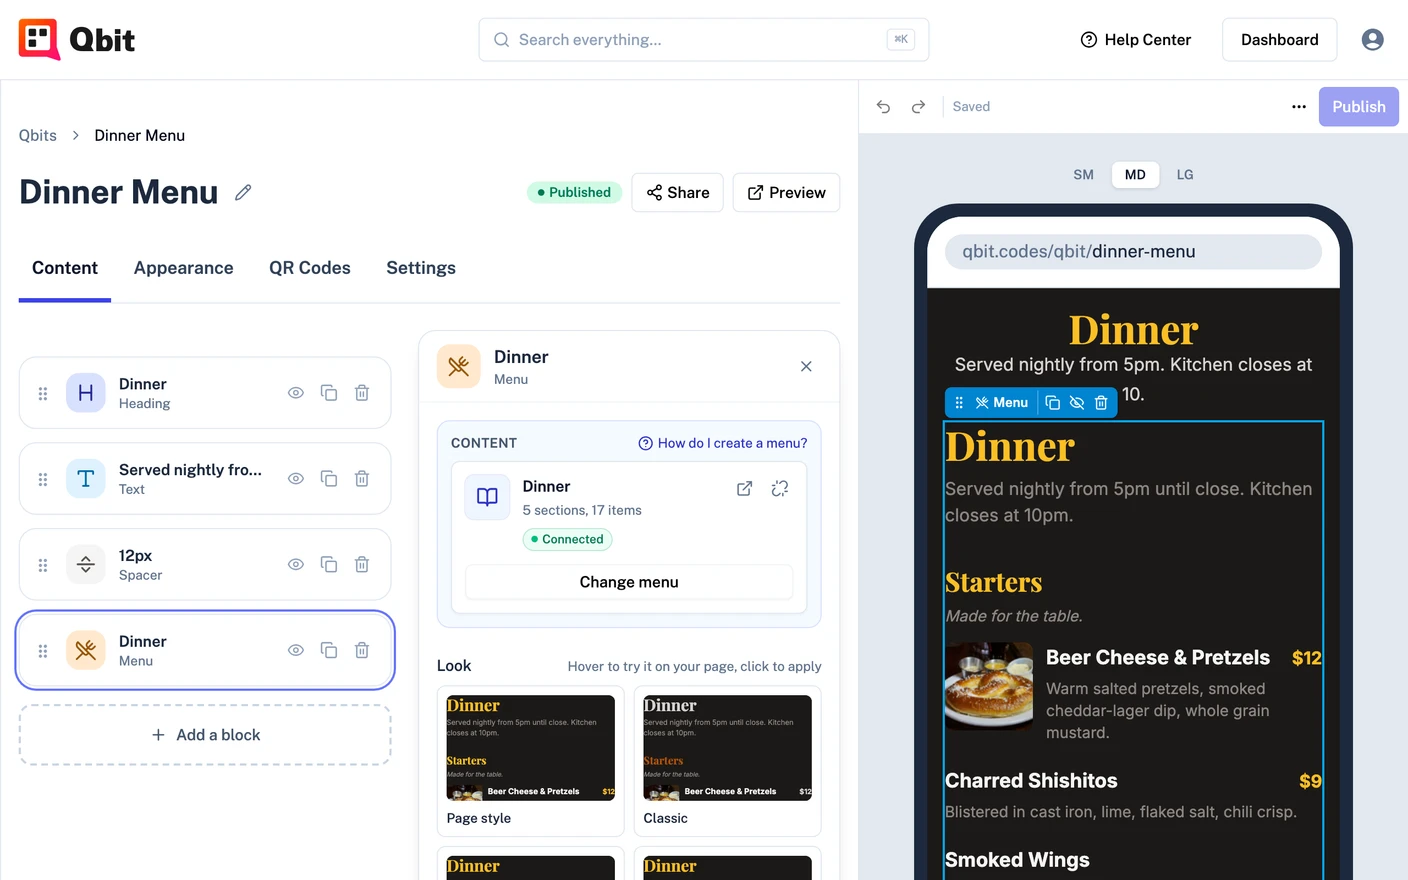
Not sure where menus come from? Click How do I create a menu? at the top of the block's panel for a quick walkthrough.
Two switches to understand
A menu shows publicly only when it's both:
- Published - you've clicked Publish in the menu builder.
- Active - the toggle in the menu's details. Retiring a menu (turning Active off) takes it off every page at once without deleting it - perfect for a seasonal menu between seasons.
Making it look right
The menu inherits your page's theme automatically, so it matches the rest of your brand out of the box. For finer control:
- This menu only - in the block's panel, pick a Look, adjust its Style, and use Options to show or hide images, descriptions, prices, and sold-out badges.
- Every menu on the page - open the Appearance tab and choose Menu.
The classic setup
- Build the menu, publish it.
- Add it to a page, publish that.
- Create a QR code pointing at the page and print it on table tents.
From then on, every menu change is: edit → publish. The tables never need new codes. See Updating menu items and prices.
Still stuck? Email support@qbit.codes.